I made this card for the virtual swap at Stampin’ Up! Event “OnTour”. This event is for all Stampin’ Up! Demonstrators around world to network with other demos and to see project ideas from our new annual catalog. (Available May 4th).
I love the Stampin’ Up! Community. It is so positive and inspiring. Especially during this uncertain time, we all need some kind of connection to each other. I hope you will join our stamping’ community in the future so we can share and inspire our creativity.
I know I put a lot into this card. But I love the way came out. Very soft and organic look and just fits the image of the stamp set.
Here is what I did…
1. Cut Basic White Thick Cardstock 5”x 3-3/4”. Ink the top part of the flower image stamp with Bumblebee and the bottom part with Pear Pizzazz and stamp. Stamp the butterfly image with Misty Moonlight. (Stamp twice to get 2 images of 1st generation and 2nd generation)
2. Take Water Painters brush and wash over the stamp images. Flick Pear Pizzazz ink over the card front.
3. Run through with Tasteful Textile 3D embossing Folder.
4. Use paper snip and tease the edges. Bend the corners with finger. Set a side.
5. Stamp the bird image with Misty Moonlight on Basic White cardstock. (Stamp twice to get 2 images of 1st generation and 2nd generation)
6. Take water painters brush and wash over the bird stamp images.
7. Use paper snip and cut out the bird images. Set aside.
8. Ink the flower image with Bumblebee and pear Pizzazz and stamp on Basic White Cardstock.
9. Take water painters brush and wash over the flower image.
10. Use paper snip and cut out the flower image.
11. Use Tasteful Labels Die to cut out the label. Stamp the sentiment with White Craft Ink and pour over the White Emboss Powder. Use the heat gun to set.
12. Use Blending brush to apply Pear Pizzazz ink on the label. Take water painters brush and flick water over the label to make water mark. Set a side.
13. Take Whisper White Crinkled Seam Binding Ribbon (20 inches) and color with Old Olive Light Blends Marker. Tie around Basic White card front.14. Use Forever Flourishing Die to cut out the gold foil sheet.15. Take Pear Pizzazz cardstock 8-1/2” x 5-1/2” and fold in half. Adhere Basic White card front on it.
15. Adhere the cut out flower image, gold foil leaves and one of the bird images with multipurpose liquid glue.
16. Adhere the another bird image and the sentiment with the dementionals. You’re finished!
Product List
Shop Online and Get Rewards
Place over $35 order (before tax and shipping ) in my online store, using the host code, and receive the gift from me.
Orders of $150 + (before tax and shipping ) should NOT use the host code to claim the Stampin' Rewards. You will get free products in your choice from the catalog. You will also receive the gift from me, too!
NOTE: If you select "no contact" during ordering, I won't know who you are and will be unable to send the gift from me.
Be sure to check
You can find up to 60% off sale products.
Paper Pumpkin Kit Batter Up!
Subscribe by May 10 and
Join My Paper Pumpkin Party
Paper Pumpkin
Paper Pumpkin kits are designed for anyone who wants to quickly and easily achieve beautiful, handcrafted projects without planning ahead.
Creativity delivered right to your home every month.
Subscription is a perfect gift for someone who is looking for crafty fun!
Catalogs
If you are in the US and do not have a Stampin’ Up! demonstrator,
I will mail the catalog for free.
Click here to Download Catalog
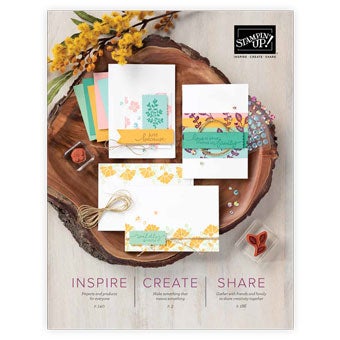
Annual Catalog (Sales Period: June 3, 2020- May 3, 2021)
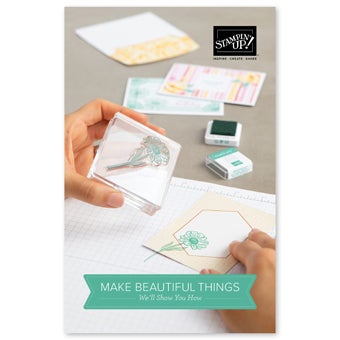
Beginner Brochure (Sales Period: June 3, 2020- May 3, 2021)
January - June Mini Catalog (Sales Period: Jan 4th - June 30th)
NEW Annual Catalog 2021-2022 (Available on May 4th, 2021)


No comments:
Post a Comment